

Let’s be honest: when you’re considering crawl space encapsulation, the first question isn’t about R-value or vapor barriers. It’s, “How long is this going to take?” You’re trying to plan your life around a major home project, and a vague “a few days” doesn’t cut it. We get it. After hundreds of encapsulations under Denver homes, from Capitol Hill bungalows to Highlands Ranch estates, we’ve learned that the timeline isn’t a single number. It’s a story written by your home’s condition, the crew’s process, and a few surprises that old houses love to keep in reserve.
Key Takeaways
- A straightforward, clean crawl space encapsulation typically takes 2 to 3 full days for a professional crew.
- The single biggest variable is preparation work: debris removal, mold remediation, or fixing drainage can add days.
- Rushing the job is the #1 mistake. Proper drying of sealants and adhesives is non-negotiable for a lasting seal.
- In Denver’s climate, with its clay soil and freeze-thaw cycles, skipping a thorough assessment is asking for a callback.
So, how long does crawl space encapsulation take? For a standard, accessible crawl space with no major issues, a professional team can typically complete a full encapsulation—including assessment, material staging, cleaning, sealing, insulating, and final dehumidifier setup—in two to three full working days.
The catch, and it’s a big one, is the word “standard.” Most crawl spaces, especially in older Denver neighborhoods like Wash Park or Berkeley, are anything but. The timeline isn’t for the installation of the liner itself; that’s the final act. The real time is spent in the preparation, which is invisible to you but critical for the system to work. It’s like asking how long it takes to paint a room. The painting is quick. It’s the taping, patching, and sanding that eats up the clock.
The Day-by-Day Breakdown of a “Standard” Job
To understand where time goes, let’s walk through a typical professional schedule. This assumes we’ve already done our initial assessment and you’ve signed off on the plan.
Day 1: The Groundwork (Literally)
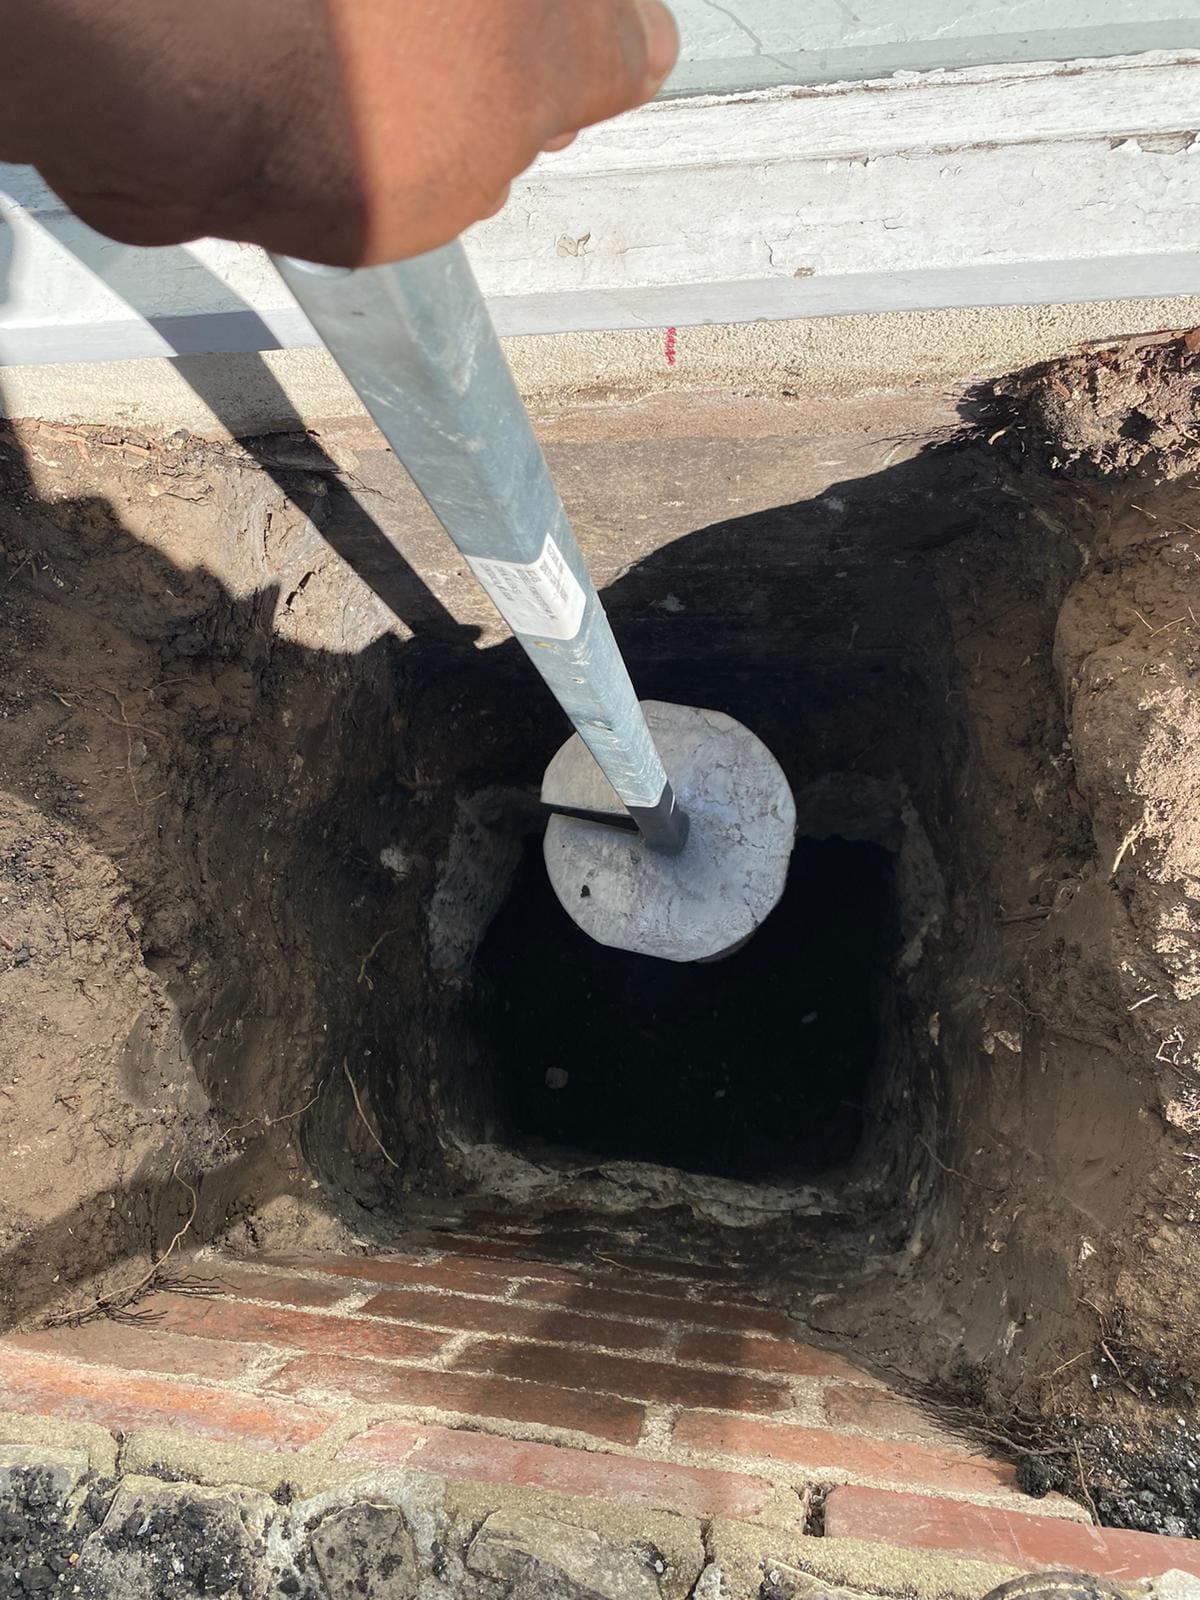
The crew arrives early to set up containment and ventilation. Day one is all about prep. Every single item is removed from the crawl space: old insulation, random bits of lumber, the forgotten toys. Then comes a thorough vacuuming with a HEPA-filtered unit. This is dusty, meticulous work. Next, any necessary repairs begin—sealing minor foundation cracks, addressing small plumbing leaks. If a sump pump is needed, the pit is often excavated today. By end of day, the space should be clean, dry, and ready for sealing. Nothing glamorous, but it’s 80% of the job’s success.
Day 2: Sealing & Liner Installation
This is the transformative day. The crew starts by sealing all penetrations and applying mastic tape to seams on the foundation walls. Then, the heavy-duty vapor barrier (we typically use a 20-mil reinforced liner) is rolled out, cut, and fitted. Seams are overlapped and sealed with specialty tape, and the liner is mechanically fastened to the foundation walls and piers. A critical step here is creating a sealed “transition” up the wall, which acts as a capillary break against moisture. This work is physical and precise; wrinkles and gaps are the enemy. By the end of Day 2, it should look like a clean, white basement.
Day 3: Finishing Touches & System Startup
The final day is for closing the loop. Insulation is added to crawl space walls or the rim joists, depending on the design. The dehumidifier (a crucial component for our semi-arid-but-sometimes-damp climate) is installed, positioned, and its condensate line plumbed to a drain or pump. All access points are re-secured. The crew then does a final walk-through, starts the dehumidifier, and ensures the system is operating correctly. They’ll review everything with you before packing up.
The Variables That Can Stretch Your Timeline
This is where real-world experience talks. If every crawl space was empty, clean, and 4 feet tall, our job would be easy. They’re not. Here are the common timeline expanders we see weekly:
- Debris & Old Insulation Removal: An afternoon if it’s minimal. A full extra day or more if it’s a historic dumping ground.
- Active Water or Mold Issues: This is a showstopper. You must remediate the water source (often exterior grading or gutter issues) and treat any mold before encapsulation can begin. This can add 2-5 days, sometimes requiring separate specialists.
- Access & Clearance: A tiny, 18-inch crawl access door vs. a full bilco door makes a massive difference in material handling speed.
- Complex Layout or Numerous Piers: Lots of corners, piers, and obstructions mean more cutting, fitting, and sealing. It’s slower work.
- Weather: While the work is indoors, extreme heat or cold affects adhesive cure times and crew safety. We won’t rush a seal because it’s 100 degrees outside.
Why a “Quick” Quote is a Red Flag
We’ve bid jobs after another contractor promised a one-day encapsulation. IMO, that’s a fantasy or a disaster. Rushing leads to skipped steps: inadequate cleaning, unsealed seams, a dehumidifier that’s undersized or just dumped in the corner. In Colorado’s soil, where expansive clay pushes and pulls with moisture, a poorly sealed encapsulation can trap water against the foundation, creating hydrostatic pressure. The fix for a failed encapsulation is twice as long and costly as doing it right the first time. The drying time for sealants and adhesives alone often mandates a multi-day approach.
When DIY Makes Sense (And When It Really Doesn’t)
Can you do it yourself? Technically, yes. The materials are available. For a very small, incredibly clean, and perfectly dry crawl space under a newer home, a highly skilled DIYer might attempt it. The timeline? Probably 4-7 full days of grueling, uncomfortable work.
But here’s the practical observation: for 95% of homeowners, DIY is a false economy. You’ll spend weeks researching, renting equipment (industrial vacuums, commercial staplers), making multiple material runs, and likely compromising on material quality. You’ll miss the nuanced understanding of air pressure dynamics and moisture pathways. Most critically, you lack the professional eye to diagnose the cause of the moisture, not just cover the symptom. We’ve been called to fix DIY encapsulations that created mustier conditions than before. Hiring a pro like Bedrock Foundation Builders isn’t just about speed; it’s about a permanent solution backed by a warranty, saving you time, risk, and long-term cost.
A Realistic Look at Cost vs. Time
People often think time and cost are directly linked. With encapsulation, it’s more nuanced. Paying more doesn’t always mean faster; it should mean more thorough. Here’s a breakdown of what you’re really paying for in the timeline:
| Phase of Project | What You’re Paying For | The Trade-Off if Rushed |
|---|---|---|
| Assessment & Prep | Expertise to spot hidden issues, proper safety setup, meticulous cleaning. | Unseen mold or water problems persist, leading to failure within months. |
| Material Installation | Precision fitting, proper sealing techniques, high-grade materials (like 20-mil liner). | Seams fail, liner tears, moisture finds a path in. The “bag” is compromised. |
| System Setup | Correct dehumidifier sizing/placement, proper condensate drainage, final air sealing. | Inefficient operation, high energy bills, constant emptying of a bucket, or overflow. |
| Warranty & Peace of Mind | The crew’s experience and the company’s guarantee that the system will perform. | You own all future problems and repair costs yourself. |
The Denver-Specific Wild Cards
Working in Colorado adds unique layers. In older neighborhoods like Park Hill, we often find crumbling, lime-based mortar that needs repointing before we can seal. The freeze-thaw cycle means we’re extra vigilant about interior drainage before we close everything up. And let’s not forget the occasional “surprise” – from rodent remnants to antique bottles, things that add a curious, if not schedule-disrupting, element to the day. A reputable local company builds this contingency into their planning, not their pricing.
So, What’s Your Actual Timeline?
The only way to know is to look. A professional assessment isn’t just a quote; it’s a project diagnosis. We can often give you a range: “If it’s just X, it’ll be 3 days. If we find Y, we’re looking at 5.” That honesty upfront is what lets you plan realistically.
The goal of encapsulation isn’t to install plastic. It’s to create a controlled, dry, clean environment under your home that saves energy, protects your structure, and improves air quality. That takes the time it takes. Rushing the process is like rushing the foundation—it compromises everything built on top of it. Our advice? Plan for the longer end of the estimate, understand what’s driving the timeline, and choose a crew whose pace is dictated by methodology, not haste. The right encapsulation should last decades, making those few extra days of installation feel pretty insignificant in the long run.
[
  {
    "@context": "https://schema.org",
    "@type": "Article",
    "headline": "How Long Does Crawl Space Encapsulation Take?",
    "description": "A practical, experienced-based guide to the real timeline for crawl space encapsulation, including key variables, common delays, and Denver-specific considerations.",
    "author": {
      "@type": "Organization",
      "name": "Bedrock Foundation Builders",
      "url": "https://www.bedrockfoundationbuilders.com"
    },
    "publisher": {
      "@type": "Organization",
      "name": "Bedrock Foundation Builders",
      "logo": {
        "@type": "ImageObject",
        "url": "((INSERT LOGO URL))"
      }
    },
    "datePublished": "((INSERT PUBLICATION DATE))",
    "dateModified": "((INSERT MODIFICATION DATE))",
    "mainEntityOfPage": {
      "@type": "WebPage",
      "@id": "((INSERT POST URL))"
    },
    "image": {
      "@type": "ImageObject",
      "url": "((INSERT FEATURED IMAGE URL))"
    },
    "url": "((INSERT POST URL))",
    "articleSection": "Home Improvement, Foundation Repair",
    "keywords": "crawl space encapsulation timeline, how long does encapsulation take, crawl space encapsulation process, Denver crawl space repair"
  },
  {
    "@context": "https://schema.org",
    "@type": "Table",
    "name": "Crawl Space Encapsulation: What Time & Money Actually Buys",
    "about": "A breakdown of the key phases in professional crawl space encapsulation, explaining what homeowners are paying for in terms of time and expertise, and the trade-offs if the process is rushed.",
    "headline": "Understanding the Investment of Time in Your Encapsulation"
  }
]
People Also Ask
Crawl space encapsulation, while beneficial for moisture control and energy efficiency, has potential drawbacks. The significant upfront cost is a primary concern, often ranging from several thousand to over ten thousand dollars depending on the home's size and condition. If not installed perfectly, it can trap moisture against foundation walls or hide leaks, potentially leading to undetected wood rot or mold growth. The system also creates a reliance on mechanical components; a failed dehumidifier or sump pump can lead to rapid humidity spikes. Furthermore, encapsulation can inadvertently provide a sheltered environment for pests like rodents or insects if not properly sealed and maintained. It may also complicate access for future plumbing or electrical repairs beneath the home.
The cost to encapsulate a 1500 square foot crawl space typically ranges from $5,000 to $15,000, with a national average around $8,500. This wide range is due to several key factors. The condition of the space is primary; extensive mold remediation, debris removal, or major repairs will increase the price. The materials chosen, such as the thickness of the vapor barrier and the inclusion of a dehumidifier, also significantly impact cost. Labor rates vary by region. A basic encapsulation involves installing a heavy-duty polyethylene liner, sealing vents, and insulating walls. A comprehensive job adding a dehumidifier, sump pump, and air sealing can reach the higher end. It is crucial to obtain multiple detailed quotes from reputable contractors.
The time required to encapsulate a crawl space typically ranges from one to five days for a professional crew, depending on the project's complexity. A standard, straightforward encapsulation in a smaller home with good access might be completed in a single day. However, most projects take two to three days. Factors that extend the timeline include a large or obstructed space, extensive moisture remediation, major repairs to foundation walls or piers, complex plumbing or electrical work, and the installation of advanced systems like a dehumidifier or sump pump. Proper preparation, including debris removal and drying, is crucial and consumes a significant portion of the total project time.
Preparing for crawl space encapsulation involves several key steps to ensure a durable and effective moisture barrier. First, thoroughly inspect and clean the area, removing all debris, standing water, and any old insulation. Repair any foundation cracks, leaks, or structural issues. Install a high-quality vapor barrier, typically a heavy-duty polyethylene liner, sealing all seams and edges meticulously with waterproof tape and sealing the barrier to the foundation walls. It is crucial to address drainage around the home's exterior and consider installing a dehumidifier and possibly a sump pump to manage humidity and water intrusion. Proper preparation creates a clean, dry, and conditioned space that protects your home's structure and improves indoor air quality.

