

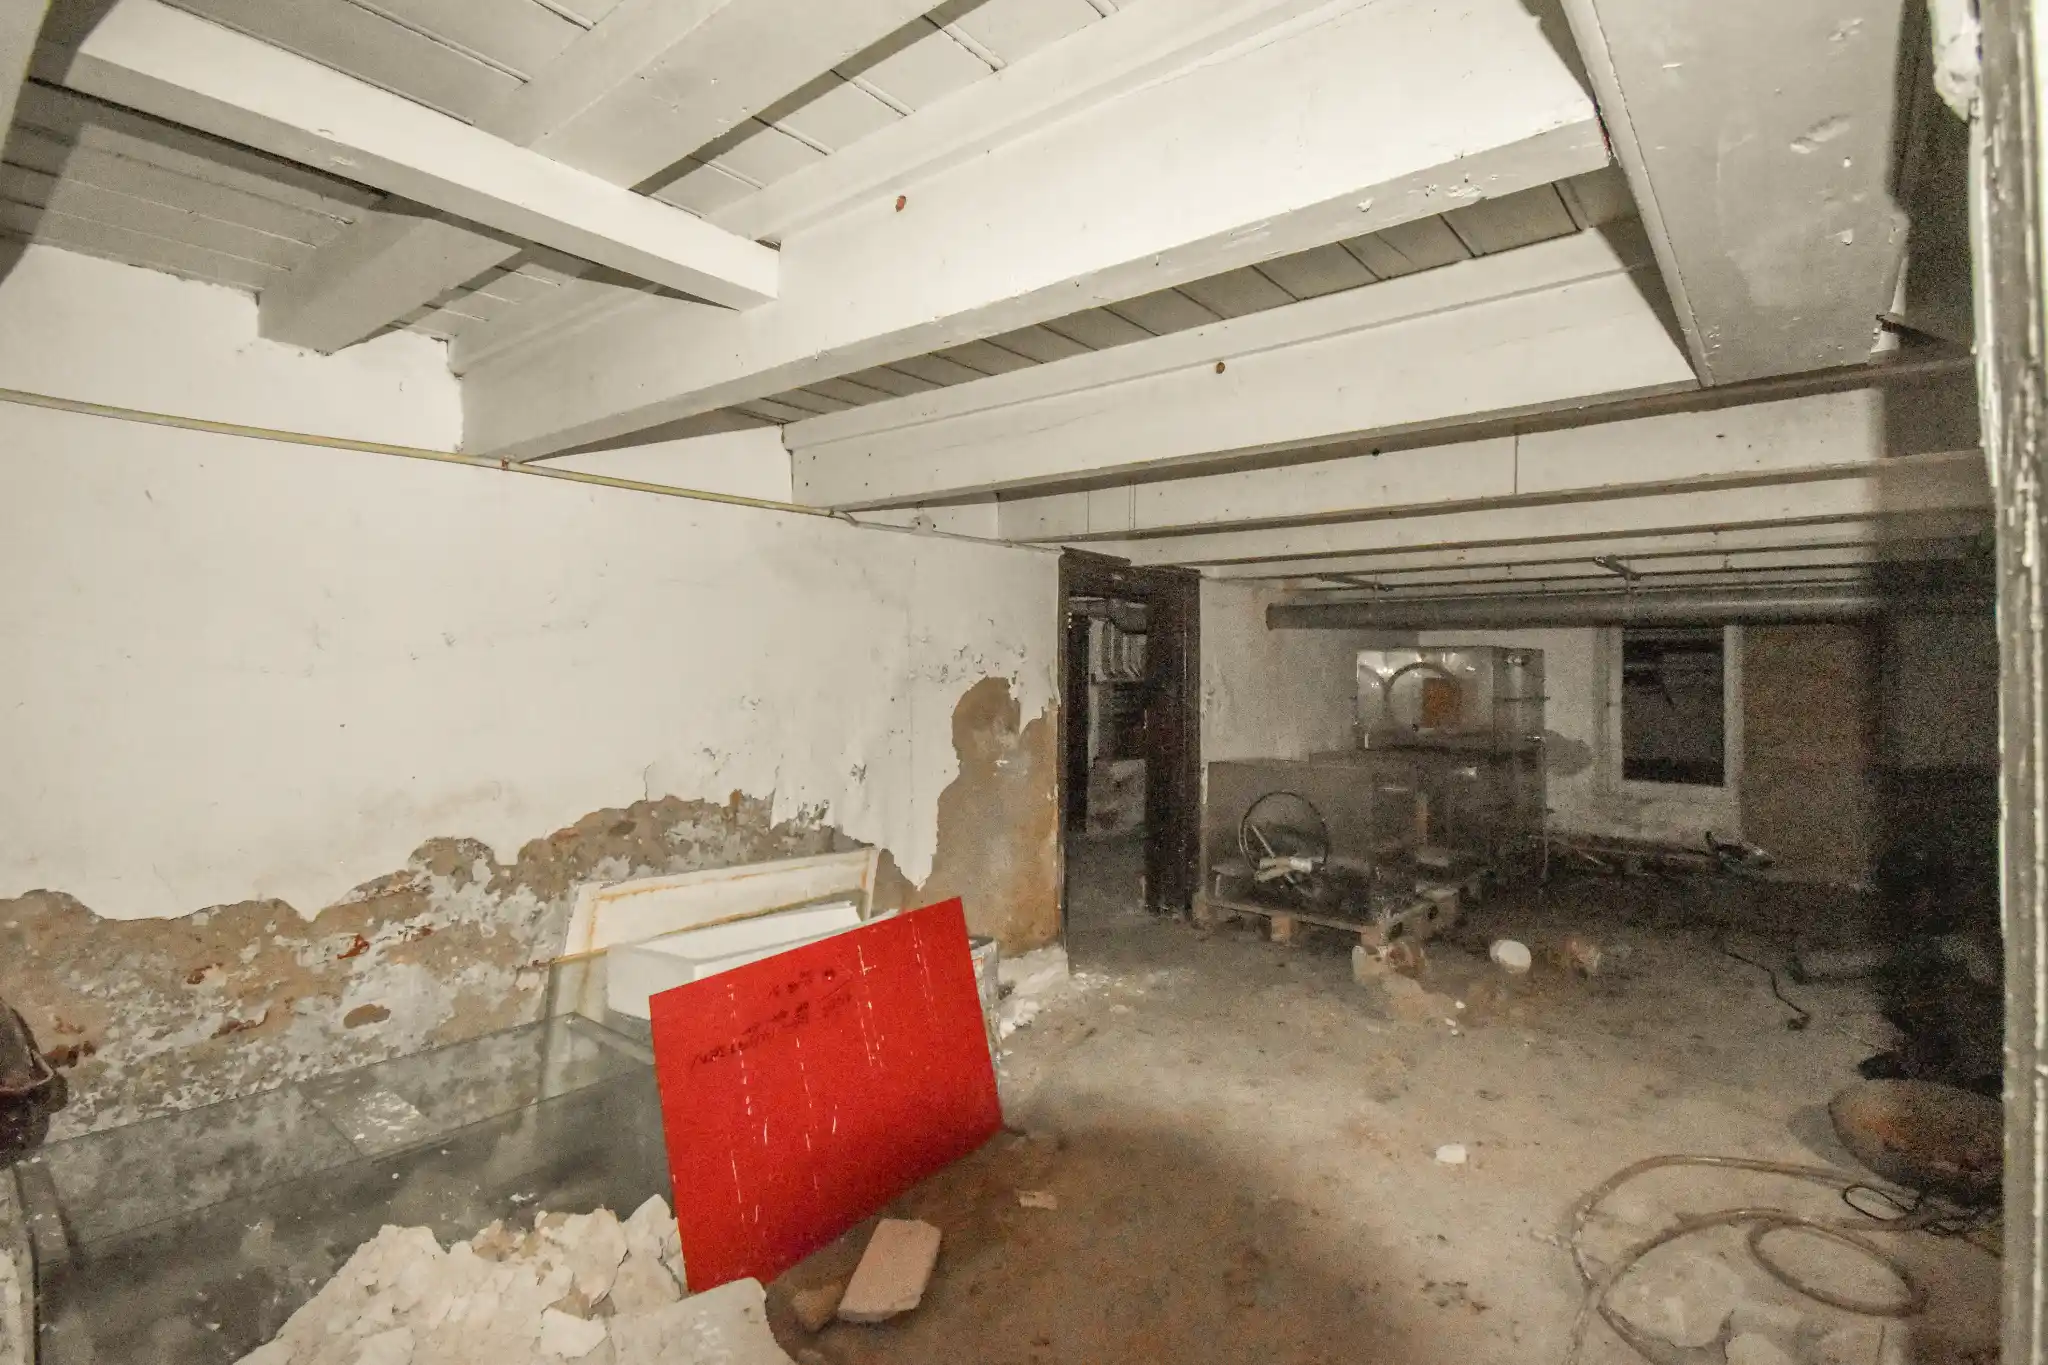
Let’s be honest: that crack in your basement wall is keeping you up at night. You’re not sure if it’s just a cosmetic thing or a sign your house is slowly sinking into Denver’s famously tricky soil. We get it. We’ve been in thousands of basements across the Front Range, from the historic homes in Capitol Hill to the newer builds in Stapleton, and the first question is always the same: “Is this serious?”
The short answer is that a proper foundation inspection is a job for a pro, but there’s a lot you can—and should—do yourself first. Knowing what to look for turns you from a worried homeowner into an informed one. This checklist isn’t about replacing an engineer’s report; it’s about giving you the confidence to know when you need one.
Key Takeaways:
- Denver’s expansive clay soil is the main character in every foundation story here; it swells when wet and shrinks when dry, creating constant movement.
- Most hairline cracks are normal, but certain patterns, widths, and locations are major red flags.
- Your inspection starts outside. Poor drainage is the #1 culprit for preventable foundation issues.
- This DIY checklist helps you monitor and describe problems accurately, which saves time and money when you do call a professional.
Table of Contents
Why Your Denver Soil is a Moving Target
You can’t talk about foundations here without talking about dirt. We’re not just on any soil; we’re on a thick layer of expansive clay. Think of it like a sponge that’s never satisfied.
What is expansive clay soil? It’s a fine-grained soil, rich in certain clays like montmorillonite, that absorbs a significant amount of water. When it gets wet, it can swell to many times its original volume. As it dries out, it shrinks dramatically. This constant cycle of swelling and shrinking exerts tremendous pressure on foundation walls and slabs.
This isn’t a secret. The U.S. Geological Survey has entire studies on the geotechnical challenges of the Front Range. What it means for you is that some movement is inevitable. The goal isn’t to achieve zero movement—that’s impossible. The goal is to manage the water that drives the movement and to identify when the movement has gone beyond normal, tolerable limits.
Start Outside: The External Inspection
About 80% of the foundation calls we get trace back to an external water issue. Grab a notepad and walk the perimeter.
Grading and Slope
This is the big one. The ground should slope away from your foundation at a minimum of 6 inches over the first 10 feet. Get a level or just eyeball it after a rain. Do you see puddles sitting against the house? That water is soaking straight into the clay right at your foundation’s footing, causing it to swell unevenly.
Downspouts and Gutters
Look up. Are your gutters clean? Now look down. Where do the downspouts terminate? If they’re dumping water right at the base of your house, you’re funneling the problem directly to the source. Those cheap black plastic extenders often get kicked aside or clog. We see it constantly.
Soil Condition at the Foundation
Get close to the house. Is there a gap you can see between the soil and your foundation wall? That’s called soil pull-away, and in Denver, it’s a classic sign the clay has dried out and shrunk. Conversely, is the soil mounded up and touching your siding? That’s a moisture bridge waiting to happen.
Moving Inside: The Basement & Interior Tell-Tale Signs
Now, head inside. Bring a flashlight, a tape measure, and if you have one, a level. Don’t just look for cracks—look for patterns.
The Wall Crack Hierarchy
Not all cracks are created equal. Here’s a quick guide to reading them:
| What You See | Likely Cause | Typical Severity | Action |
|---|---|---|---|
| Hairline, vertical cracks (< 1/16″) | Normal concrete shrinkage as it cures. | Low. Usually cosmetic. | Monitor. Seal if moisture is a concern. |
| Stairstep cracks in brick or block | Differential settlement (one part of the foundation sinking more than another). | Medium to High. Very common with expansive soil. | Measure and track. Time to get a pro’s opinion. |
| Horizontal cracks in basement walls | Lateral pressure from saturated soil pushing inward. | High. Requires professional evaluation. | Do not ignore. This indicates significant pressure. |
| Wide, diagonal cracks (> 1/4″) at corners of doors/windows | Foundation movement or settling. | Medium to High. | Professional assessment needed to determine cause. |
The Floor and Ceiling Story
Your foundation isn’t just the walls. Look at your basement floor slab. Are there cracks? Is one section noticeably higher or lower than another? Upstairs, do your doors stick in the summer but close fine in the winter? That’s the humidity change affecting wood, but if it’s extreme, it can be a soil moisture clue. Place a marble on your uncarpeted floors. Does it consistently roll to one area? That’s a useful, if crude, test for slab tilt.
The Tools You Actually Need (And Don’t)
You don’t need a $5,000 laser level. Professionalism is about consistent observation, not fancy gear.
The Essentials:
- A good flashlight: Shadows hide cracks.
- A tape measure: Track crack width over time. Take a photo with a coin or ruler next to it for scale.
- A notebook: Date every observation. “Crack in northwest basement wall seems wider” is useless. “May 10, NW crack measured 3/16”” is gold.
- A 4-foot level: For checking bowing in walls or significant floor slopes.
What to Skip for Now:
Don’t rush to buy crack monitors or laser levels. If things have progressed to the point where you need to measure millimeter-level movement monthly, you’re already in the territory of needing a professional assessment and likely a repair plan. Your initial DIY job is about identifying the existence and category of a problem.
When Your DIY Checklist Says “Call a Pro”
This is the most important part. Our goal is to empower you, not make you think you can do it all. Here are the hard stops where your inspection should end and ours should begin.
- You see any horizontal cracking in a concrete basement wall. This is rarely a “wait and see” item.
- Cracks are actively widening over a season. Your dated notes prove it.
- You notice significant new separation around window frames, where the garage slab meets the driveway, or between addition and main house.
- You have persistent moisture or water intrusion in the basement alongside any of these signs. It means the water problem is winning.
- You’re simply feeling uneasy about a purchase or renovation decision. A few hundred dollars for a professional evaluation is cheap insurance against a five-figure repair.
In older Denver neighborhoods like Baker or Washington Park, many homes are on partial or full basement foundations that are 80+ years old. They’ve moved, they’ve settled, and they’ve been patched. A professional doesn’t just look at a crack; we look at the whole system—the soil, the drainage, the history of the structure, and the type of foundation—to give you a realistic picture of what’s urgent vs. what’s just old-house character.
What a Professional Does That You Can’t
When we come out for an inspection, we’re building on your excellent detective work. We’re looking for the root cause, not just the symptom. We’ll use precise tools like a Ziplevel or laser to map floor elevation changes, assess the severity of bowing walls, and determine if movement is active or historical.
But more than tools, we bring context. We’ve seen how the clay behaves differently in Lowry than in Highlands Ranch. We know the common failure points of pier-and-beam foundations vs. slab-on-grade. We can tell you if that stairstep crack is likely to stabilize now that you’ve fixed your downspouts, or if the underlying settlement requires structural intervention.
The best outcome from your DIY inspection is when we can tell you, “You caught this early. Here’s a simple drainage correction and we’ll monitor it.” The most expensive repairs are almost always on problems that were ignored for years, allowing the damage to compound. Your vigilance is the first and most cost-effective line of defense.
So, go do your walk-around. Take your notes. Arm yourself with the context of this stubborn Colorado clay we all build on. And when your checklist raises a red flag, you’ll know it’s time to bring in a local team like ours at Bedrock Foundation Builders to help you read the full story your foundation is telling.
People Also Ask
For expansive clay soil, the best foundation is typically a deep foundation system, such as helical piers or pressed concrete piers. These systems transfer the load of the structure down to stable, load-bearing soil strata below the active clay layer, which can swell and shrink with moisture changes. A shallow foundation, like a standard slab-on-grade, is highly susceptible to heaving and cracking in these conditions. At Bedrock Foundation Builders, we always recommend a thorough geotechnical analysis to determine the exact depth and type required. For a detailed comparison, please refer to our internal article Helical vs. Pressed Concrete Piers: The Denver Homeowner’s Guide to a Foundation That Stays Put, which explains the specific advantages of each method for Denver's unique soil conditions.
Stabilizing a foundation on clay soil is a complex task that is rarely suitable for DIY methods due to the high risk of structural damage. Clay soil expands when wet and shrinks when dry, causing significant movement. For minor issues, you can improve drainage by ensuring gutters and downspouts direct water at least 10 feet away from the foundation. Installing a soaker hose system to maintain consistent soil moisture around the perimeter can also help reduce drastic swelling and shrinking. However, for actual foundation stabilization, professional intervention is required. Bedrock Foundation Builders recommends against DIY underpinning or helical pier installation, as improper depth or placement can worsen the problem. Always consult a licensed structural engineer to assess the soil and foundation before attempting any corrective work.
A foundation inspection typically costs between $300 and $700 for a standard residential property, though prices can vary based on the home's size and accessibility. For a more accurate estimate, you can refer to our internal article Cost To Level A 2000 Square Foot Home which breaks down costs for larger homes. The inspection fee usually covers a visual assessment of the foundation, checking for cracks, settling, water damage, and structural shifts. Bedrock Foundation Builders recommends getting at least two quotes from licensed inspectors to ensure a fair price. Keep in mind that if the inspector uses specialized equipment like a laser level or moisture meter, the cost may be higher. Always confirm that the report includes a detailed summary of findings and repair recommendations.
Expansive clay soil typically appears as a dense, sticky material that is very hard when dry and becomes slick, plastic, and slippery when wet. When dry, it often develops deep, wide cracks on the surface that form a polygonal pattern, similar to a dried riverbed. The soil color can range from dark gray to reddish-brown, depending on the mineral content. This type of soil has a high shrink-swell capacity, meaning it expands significantly with moisture and contracts when it dries out. For homeowners in the Denver-Aurora-Centennial area, identifying this soil is critical because it can cause foundation movement. For a deeper understanding of how to manage moisture risks in such conditions, you can read our article Common Disadvantages Of Crawl Space Encapsulation to learn about common crawl space challenges.


Comments are closed